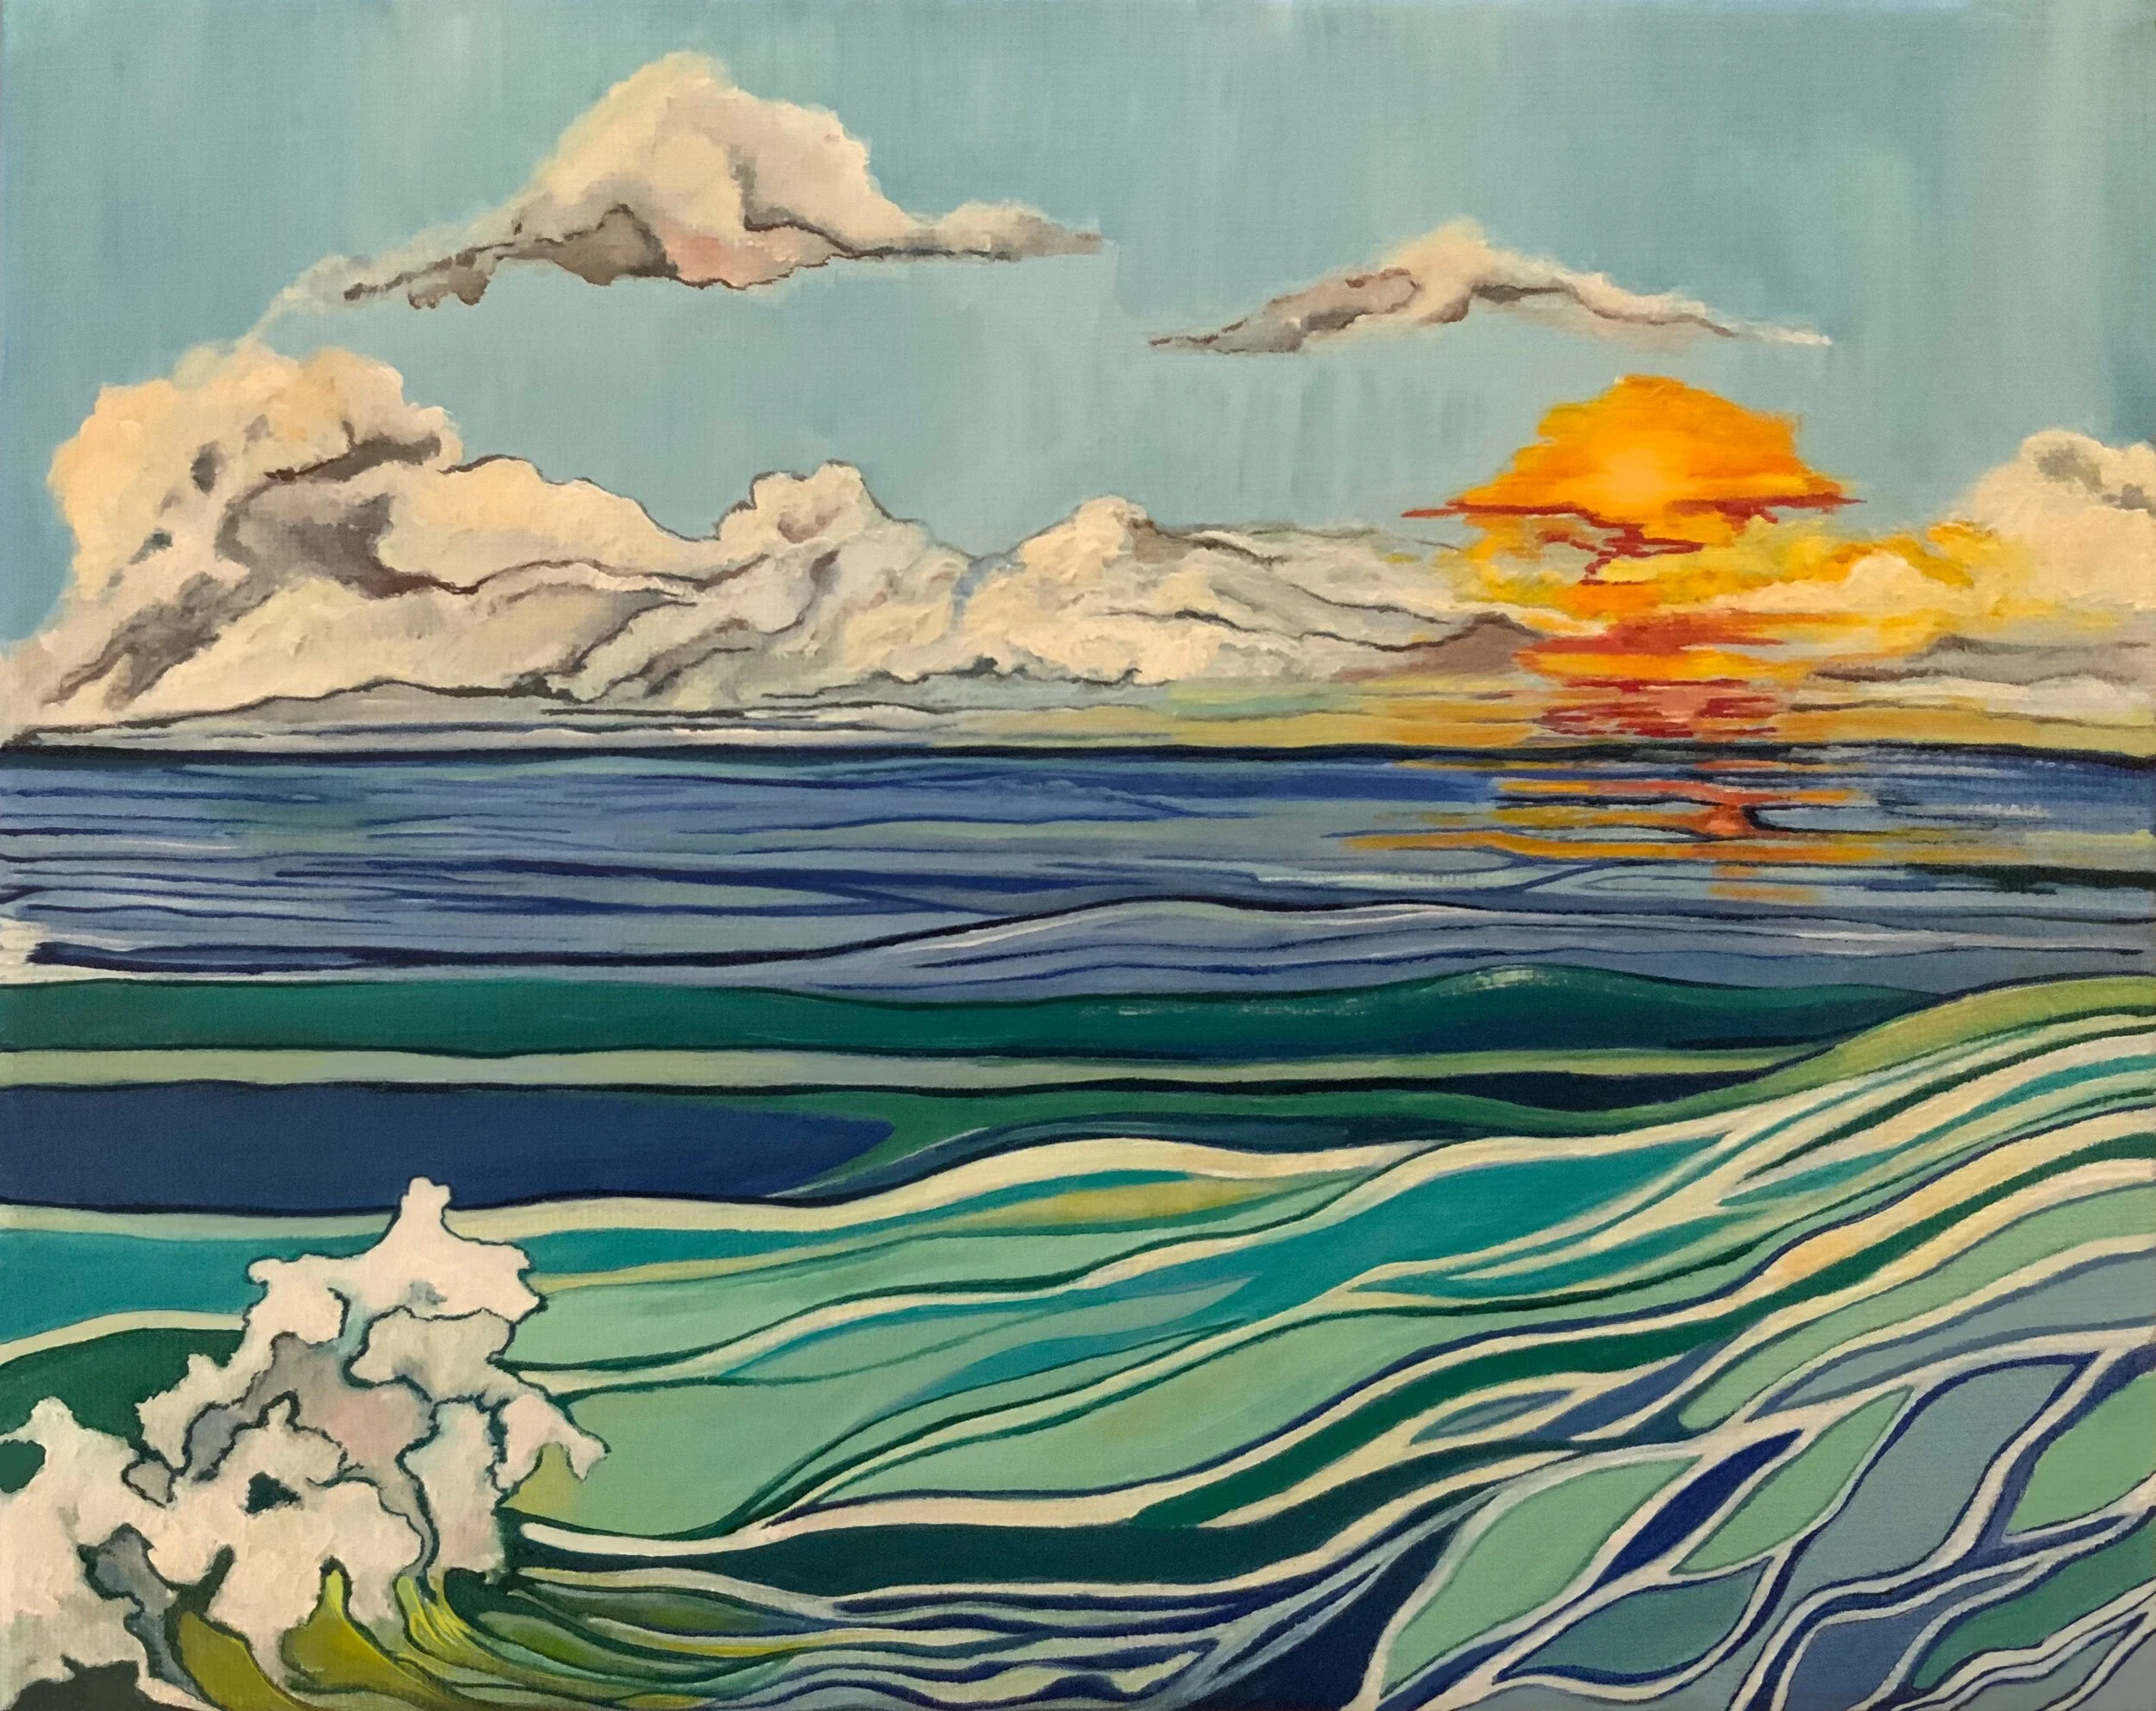
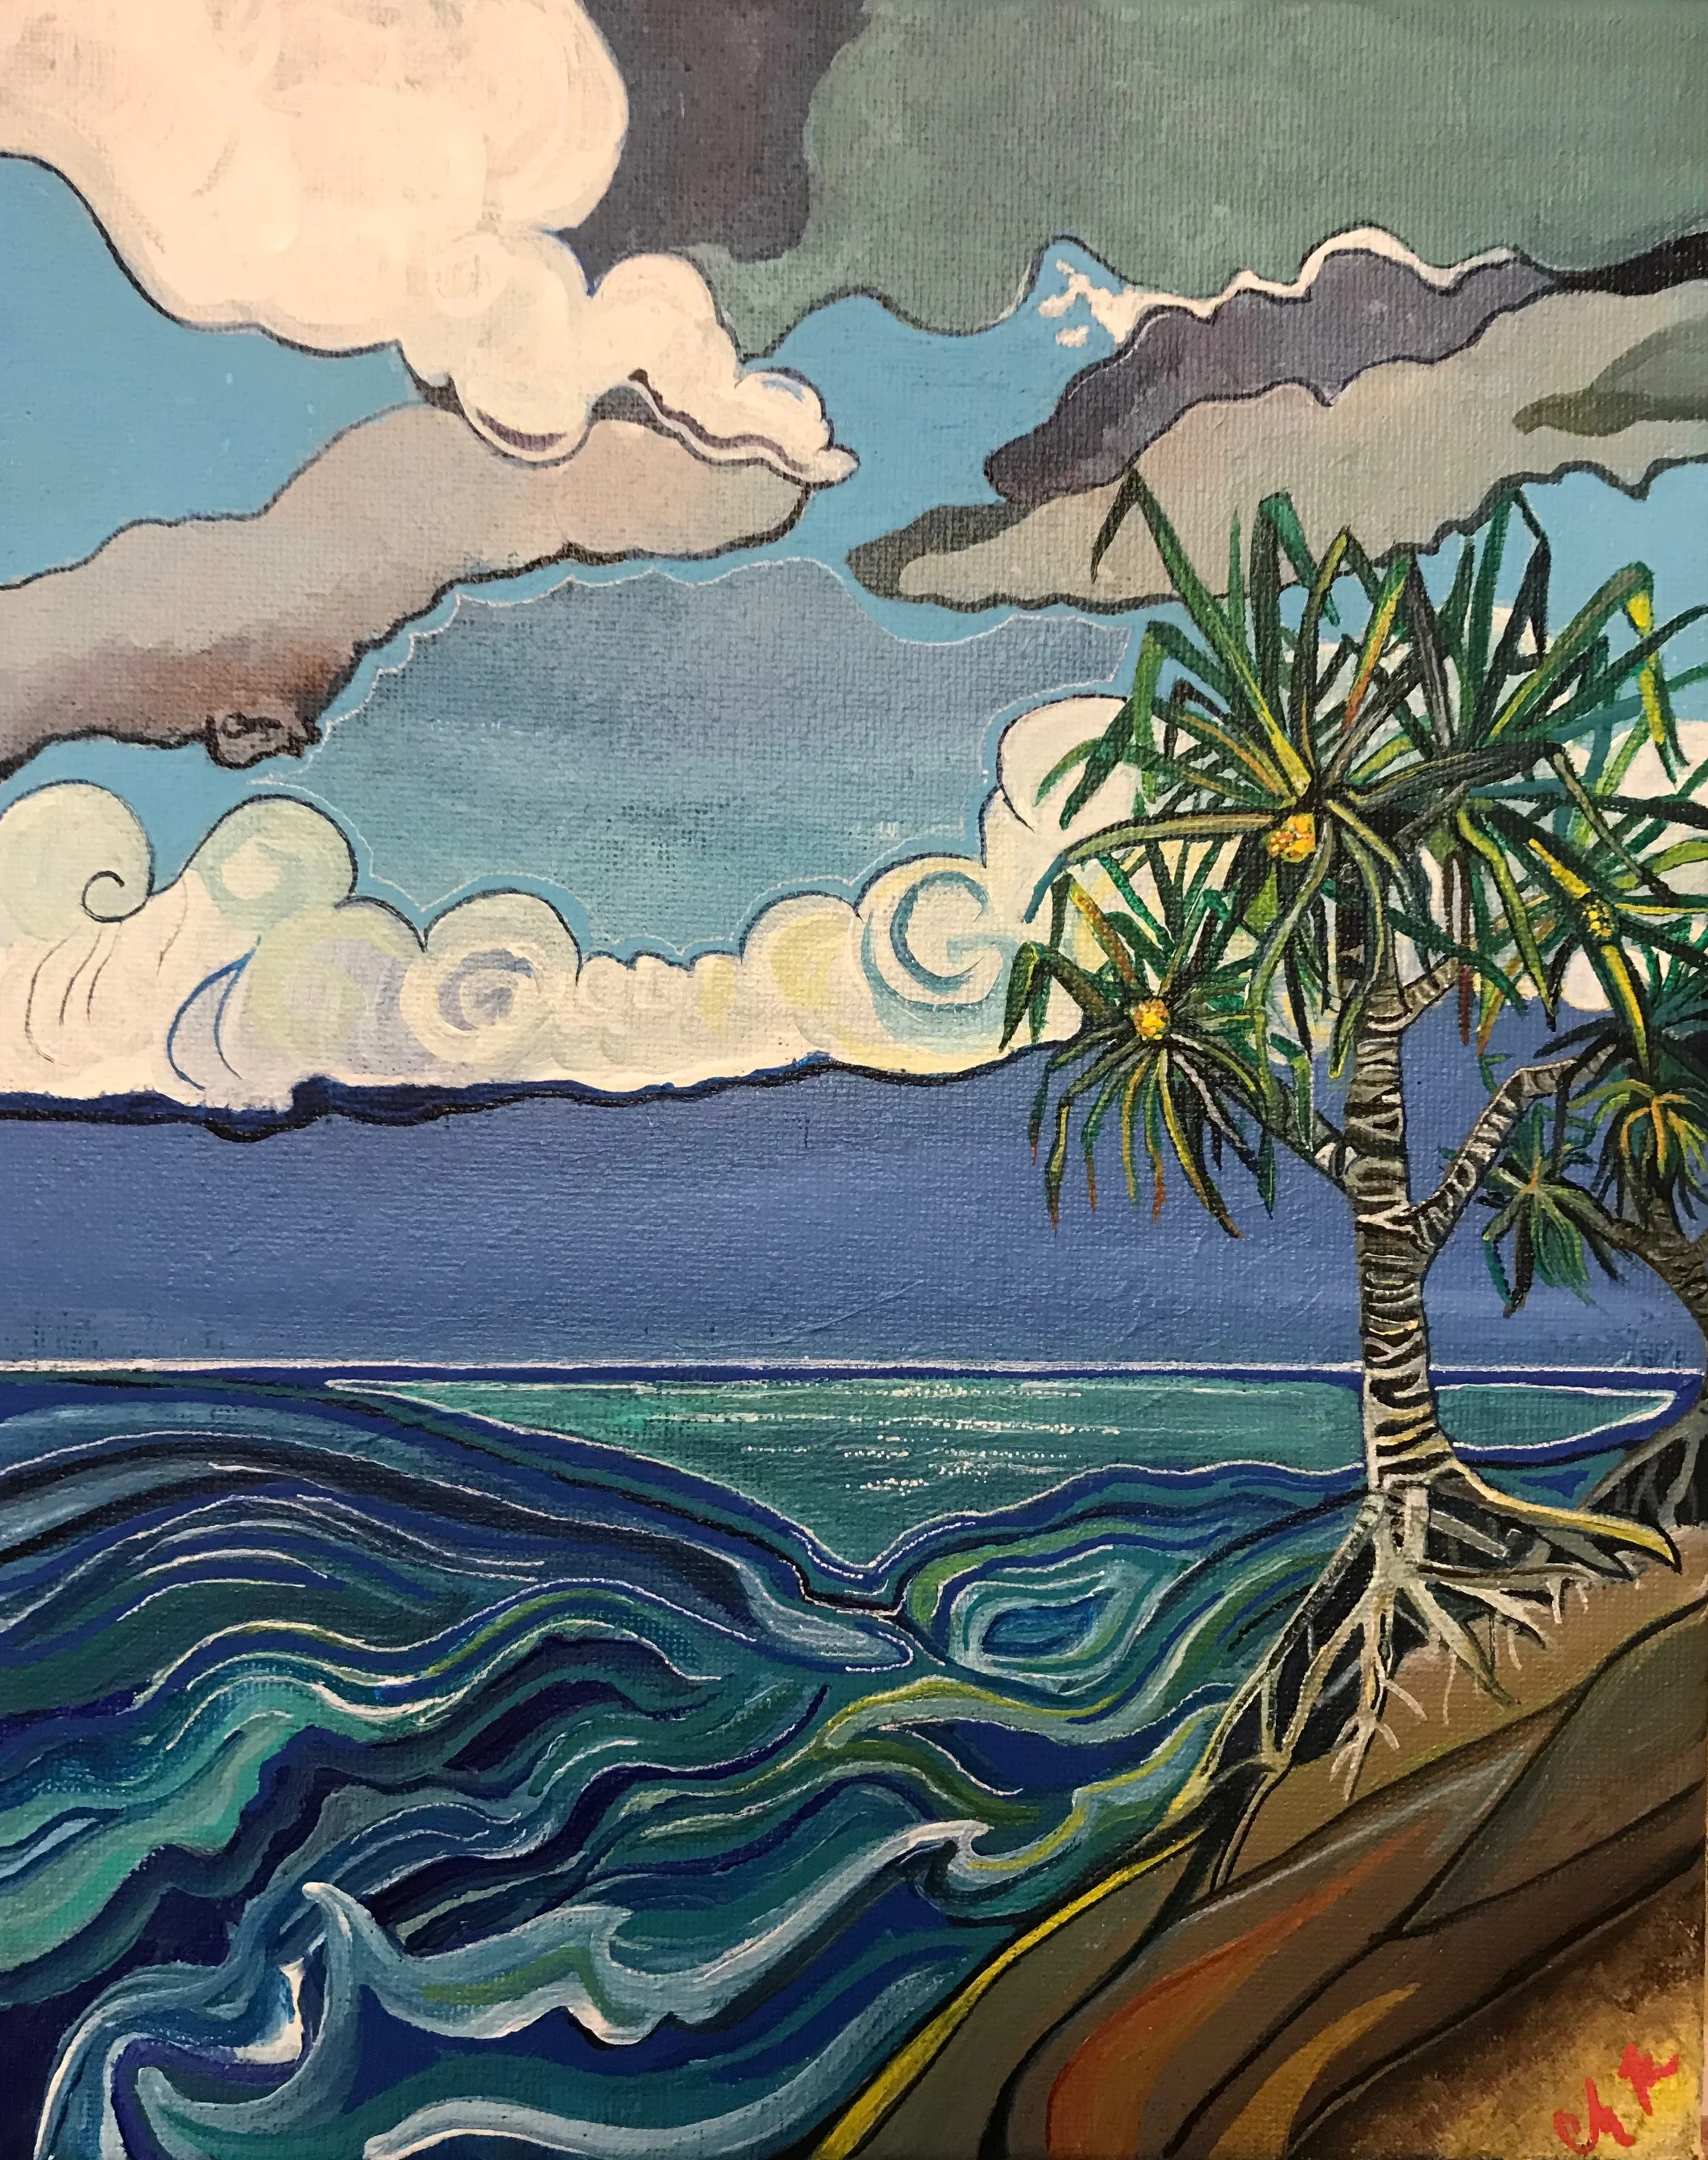
So you have some beautiful art prints purchased from me or one of the other wonderful artists out in the world. Now what? Taking your newly purchased art prints (or long past purchased art prints, LOL) to a professional framing shop can easily cost you hundreds of dollars. But do not worry, it is easy and inexpensive to mat and frame art prints yourself.
The first thing you want to do is make sure your print is in a standard size. This just means the artwork has been printed on a common sized paper so it is easy to find corresponding pre-cut mats and ready made frames. I print all my artwork in standard sizes unless a client requests otherwise and many other artists do the same. The sizes I use most commonly (with corresponding mat sizes) are as follows
5x7 print (fits in an 8x10 mat and frame)
8x10 print (fits in an 11x14 mat and frame)
11x14 print (fits in a 16x20 mat and frame)
There are a few other fairly common sizes out there. If you have any doubt as to whether your art print is a standard size there is an easy solution. First, measure your artwork in inches. Let’s say it measures 9x12. Go to the website of your favorite store that sells art supplies and search for “9x12 inch picture frame” or “9x12 inch picture mat”. If it is a common size you should see a variety of options for you to choose from.
Once you have established that your beautiful art print is indeed a standard size you have another decision to make. To mat or not to mat? A mat is the thick paper “frame” surrounding the artwork. If you decide you would like a plain white or black mat you are in luck. Many ready made frames include the mat, most often white and sometimes black. This is the easiest and generally the most affordable solution for displaying your art.
But what if you want a different color or the frame you have chosen does not come with a mat? Most art and craft stores will carry a wide variety of mats in various textures and colors pre-cut to common standard sizes. Stores such as wal-mart and Target also carry pre-cut mats but there won’t be as many options to choose from. Many craft stores will also cut you a custom mat if you want a very specific color or texture. This may cost you slightly more than buying a pre-cut mat. If you are going this route it is helpful to bring the artwork with you to the craft/frame store so you can see what color looks best with the artwork. A friendly framer will even help you choose.
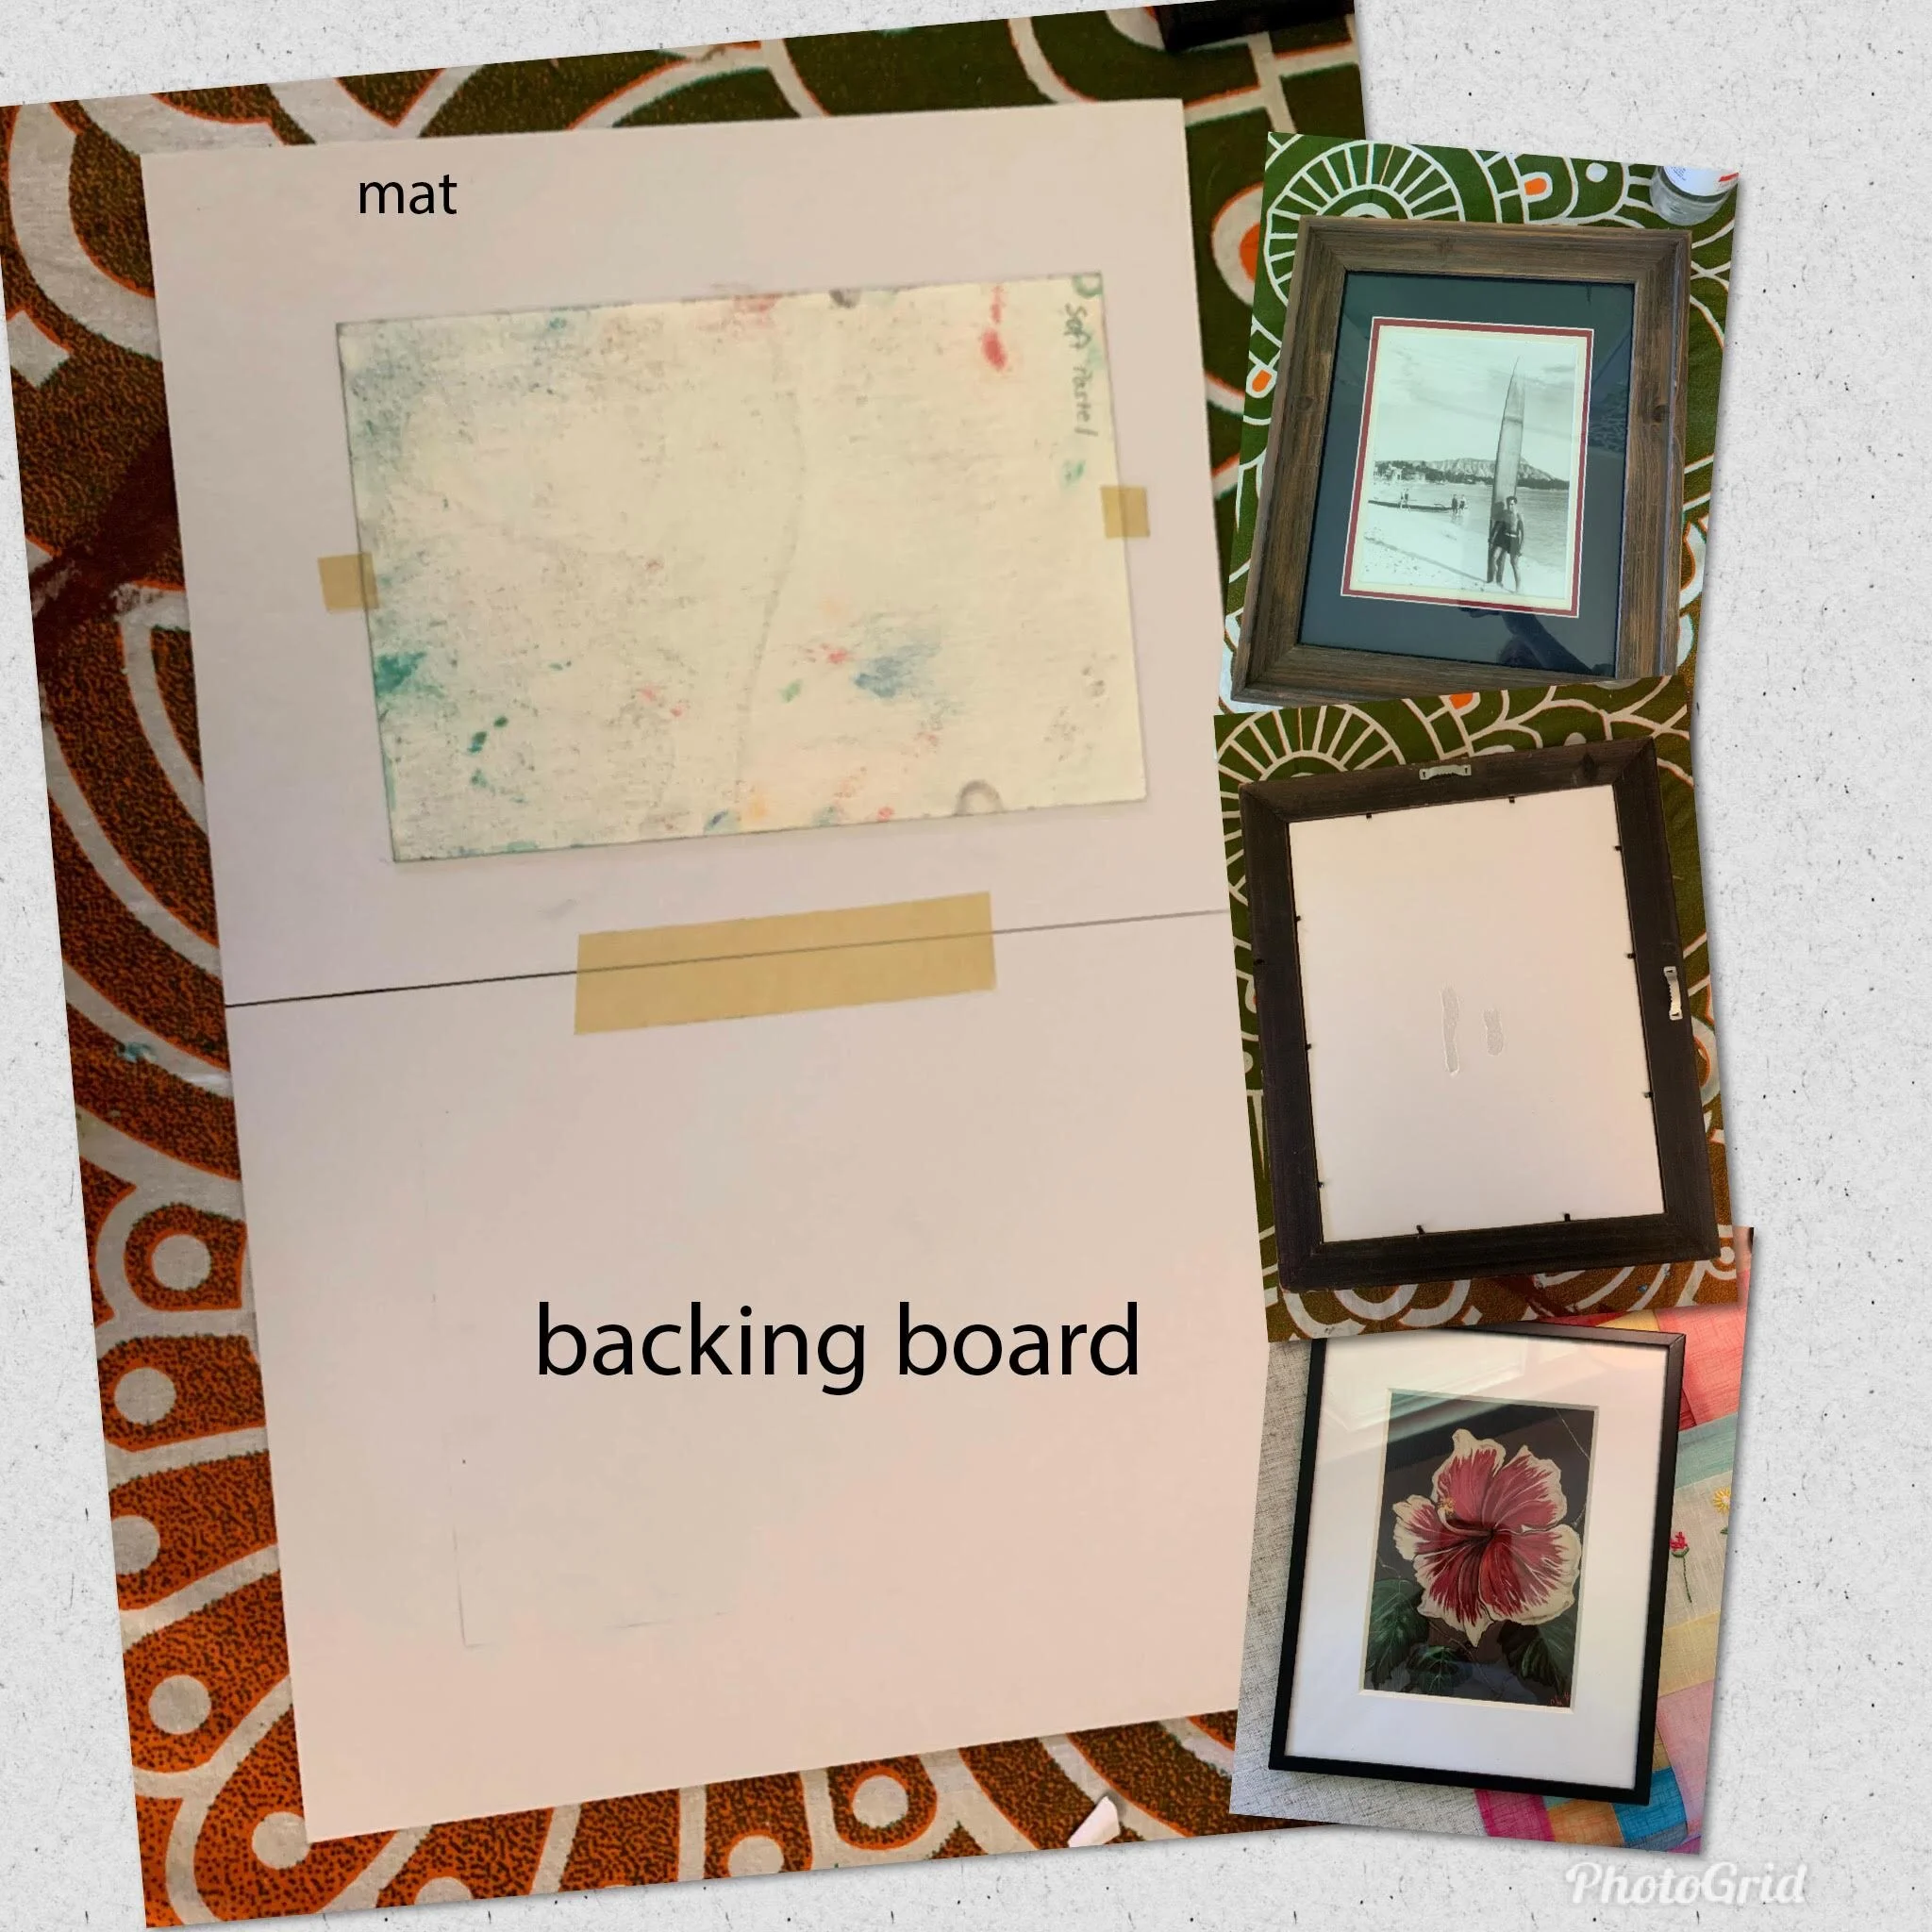
Now that you have purchased a frame and mat in corresponding size you are ready to frame your artwork! Different frames have slightly different features but it should be fairly self explanatory. Refer to my photos for more details and these helpful tips.
-if you need to use adhesive to keep the artwork in place use a small piece of masking or painters tape. Never put any adhesive on the front of the artwork.
-Attach the art print to the mat instead of any backing materials that may be used.
-If needed, attach the mat and backing bored with a piece of masking tape at the seam.
-try to avoid touching the front of the artwork as much as is possible.
-make sure the glass on the inside of the frame is free from dust and other particles. Be careful when handling the glass as it can be very delicate when removed from the frame and on some I have encountered sharp edges!
-frames should come with hanging options on the back. Depending where on the back of the frame they are located and if your artwork is meant to be displayed vertically or horizontally will determine which is right side up. You do not want to put your artwork in upside down. This seems silly to mention but it has happened to me.
